 当前位置:
当前位置:很多人会将U盘制作成pe启动盘,用来给电脑装系统或维护系统等操作,不过早期的pe启动盘都是Legacy模式,现在的主板大多支持uefi模式,所以我们需要制作uefi pe启动盘,很多工具都已经推出了uefi版制作工具,比如大白菜uefi版,那么uefi pe启动盘要怎么制作呢?下面系统城小编跟大家分享pe uefi引导盘制作方法。
相关教程:
win7 uefi u盘制作教程(Rufus制作)
uefi gpt模式u盘启动安装win7步骤
超过4g的镜像用什么u盘pe启动盘(大于4G镜像用这个工具)
准备工具:
windows7 - 1、4G或8G以上U盘
windows8 - 2、系统镜像下载:win7 64位系统下载
windows10 - 3、uefi pe启动盘制作工具:大白菜U盘启动制作工具V5.2(装机版+UEFI)双启动增强版
方法win7一 、ISO模式制作方法:uefi u盘启动制作教程
方法win8二 、一键制作方法
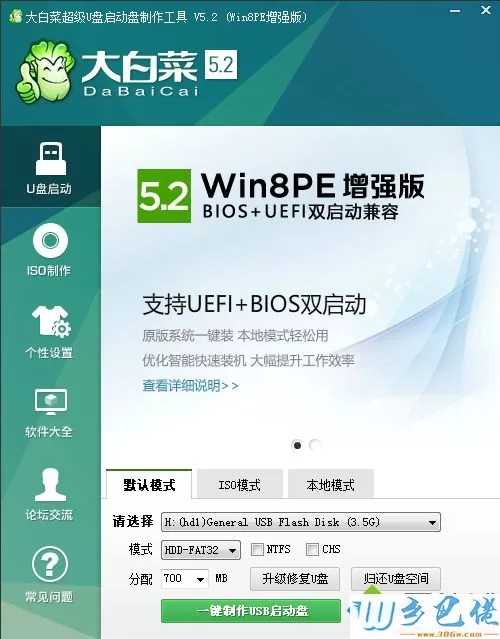
windows7 - 1、下载并安装大白菜超级U盘启动盘制作工具UEFI版,打开主界面,插入U盘,工具会自动识别到U盘;
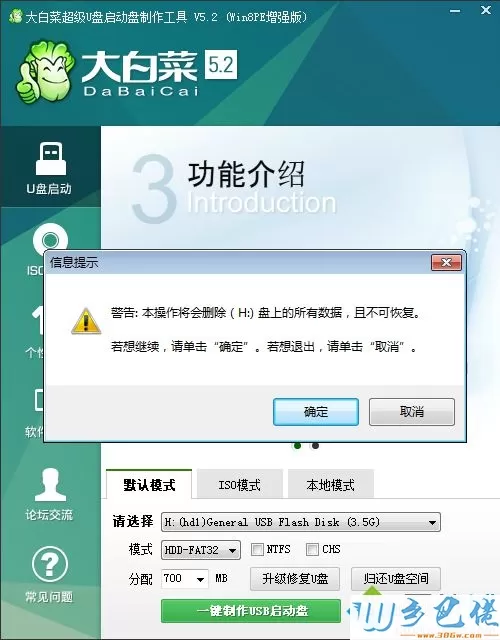
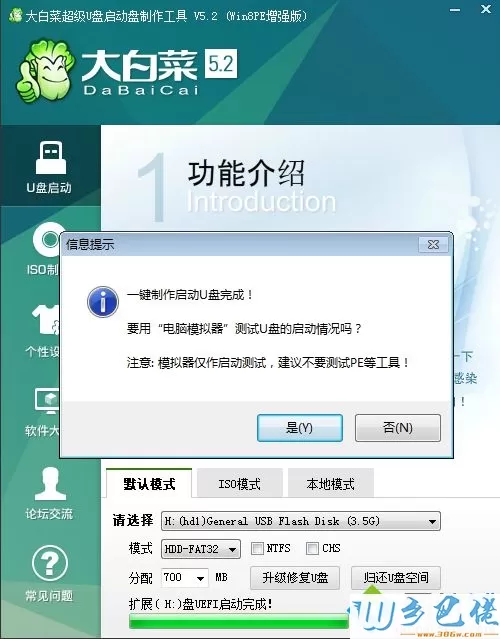
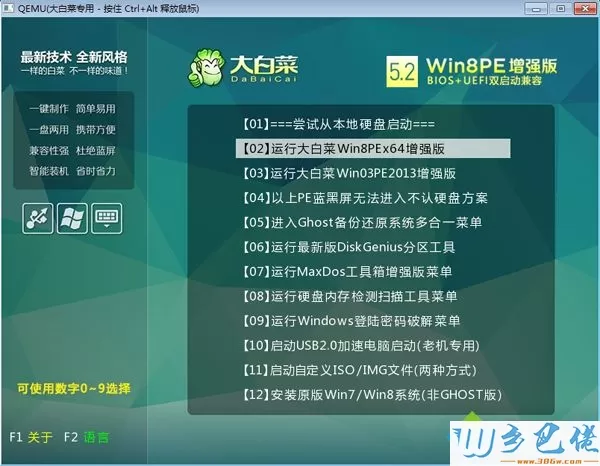

以上就是uefi pe u盘制作方法,有需要的朋友,可以按照上面的方法来制作,使用支持uefi的pe制作工具就可以一键完成制作。